My Need: I tried to make my own iOS app that would take html, scrape the links, get and store the data, change the links and cache a new html file.
OK – as usual – someone already solved that problem (it always happens).
Here are some AWESOME links to help me build my solution – I am SURE you will find them beyond helpful like I did..
Why this app: Something so I can not have to count on my wifi or 3G when reading parent/kid teaching material because we might be camping, or most of the time- JUST out of reach of the wifi and we are lying in bed. 3 year old don’t have patience for you to get in range, start up facebook … again type your group name in only to find that the links on the wall are outdated. I have 3 kids in 3 different age groups. I need something that is JUST GOING TO WORK when I need it to work. And it does – nice.
Design thoughts, steps and resources that you can use too: I want an app that is offline – well html5 has a solution already AND IT WORKS and there are some really smart guys with a lot of good material. Let me bookmark the ones that got me going
- installed a wordpress site
- got a blank or simple html5 template that I could hack (or build into is what I actually did). I read this book a while back.
- in my plugin in I added some code to call my new template and I requested a manifest file with the &manifest=1 GET parameter
- this then calls the single.php page which, when it sees the &manifest=1 goes and
- calls a new header called header-manifest.php and I=
- make the template also redirect to single-manifest.php which together
- spits out the manifest headers with[html]Content-type: text/cache-manifest[/html]
- Read more about what to spit out with these links
- Offline Web Applications – Dive Into HTML5
- How to create offline webapps on the iPhone | The CSS Ninja – All things CSS, JavaScript & HTML
- This is start to my app which uses what these guys do with javascript so you can SEE or understand what is going on. THESE GUYS ROCK – the client javaScript side needs to be working to monitor progress for your users. Read the comments below and you can see you only need to do an ajax query to the local cached version of your html manifest file (that is cool too) so you don’t have to fetch 3 times from the server
- fetch 1 – the page
- fetch 2 – the same page but ransacked for all the pdf links and other resources to cache
- fetch 3 – not required any longer due to buddy’s comment in the above link – but a pull of the manifest file to do some regex’s and get the # of manifest items so you can see your progress.
- To include jQuery – use this link from google
- Some stuff from Apple Safari Web Content Guide: Storing Data on the Client
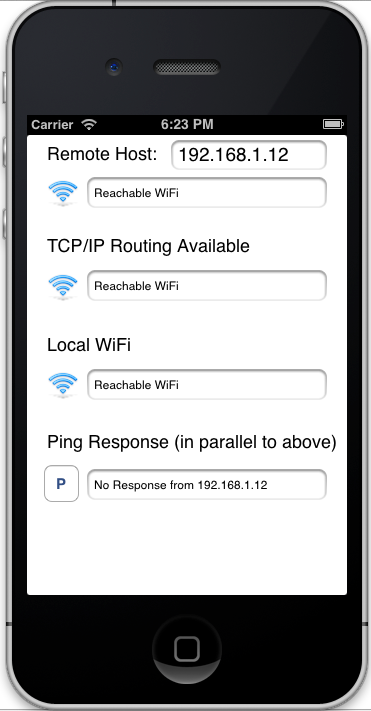
- apple / iOS has some issues with putting the UIWebView and getting the app cache to cache all files. I think I need to increase the cache. For now, I have it opening up Safari and it works great. Here is what might work: Link1, Link2, Link3. These guys seem to have got it to work – I need to get my app out and working.
- It works and works great. Click on this link and see the top data (my stuff) loading and the app cache stuff loading live. At the time of writing this, the bottom of the page is quite texty. I need to jQuery it to get it snazzy and graphical.
- Turn off the wireless (enter the airplane mode) and keep browsing the links. AMAZING!
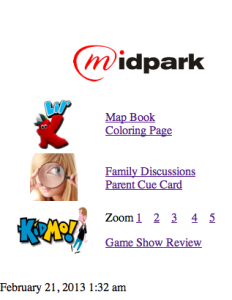
This is the file that gets scraped for the links into a manifest file which is a list of the resources that get cached – offline. Pics too.

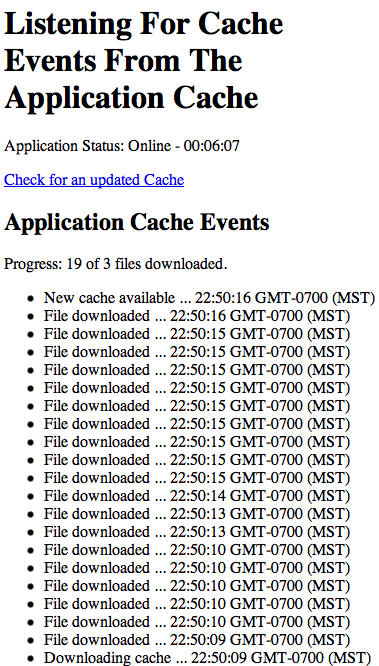
The geekery that makes it work – the text version. jQuery to come